
Installing Solar Pumpkin Decor Light for Rainy Pathways
 Jordan HaleStaff Writer
August 21, 2026. This narrative explores the practical steps for installing moisture-resistant pathway lighting to ensure seasonal displays remain functional through autumn storms. It is written for homeowners seeking reliable, weather-hardy decorative solutions.
The first thing I noticed was the weight of the damp soil against my palms as I knelt by the garden edge. Late October in the Pacific Northwest doesn't just bring a chill; it brings a persistent, soaking mist that turns standard electronics into paperweights. I watched a neighbor's traditional plug-in display flicker and die after a particularly heavy downpour, the orange plastic shells filling with murky water. It is a common frustration for anyone attempting to balance festive aesthetics with the reality of shifting weather patterns. When searching for solar pumpkin garden stakes, the primary concern isn't just how they look at dusk, but how they survive the 3:00 AM deluge. The transition from dry late-summer evenings to the saturation of autumn requires a shift in how we approach outdoor accents. Without a focus on [waterproof solar pumpkin for yard](/blog/waterproof-solar-pumpkin-for-yard) placement, most decorations end up in a landfill before the first frost arrives. The challenge lies in the seal of the casing and the elevation of the internal components above the ground-level moisture line. I spent hours clearing dead leaves from the drainage areas, realizing that even the best lights need a thoughtful environment to function. The soil here holds onto water, creating a micro-climate of humidity that can bypass poorly designed gaskets. I keep coming back to the idea that outdoor lighting should be resilient enough that I don't have to run outside to rescue it every time the clouds turn grey.
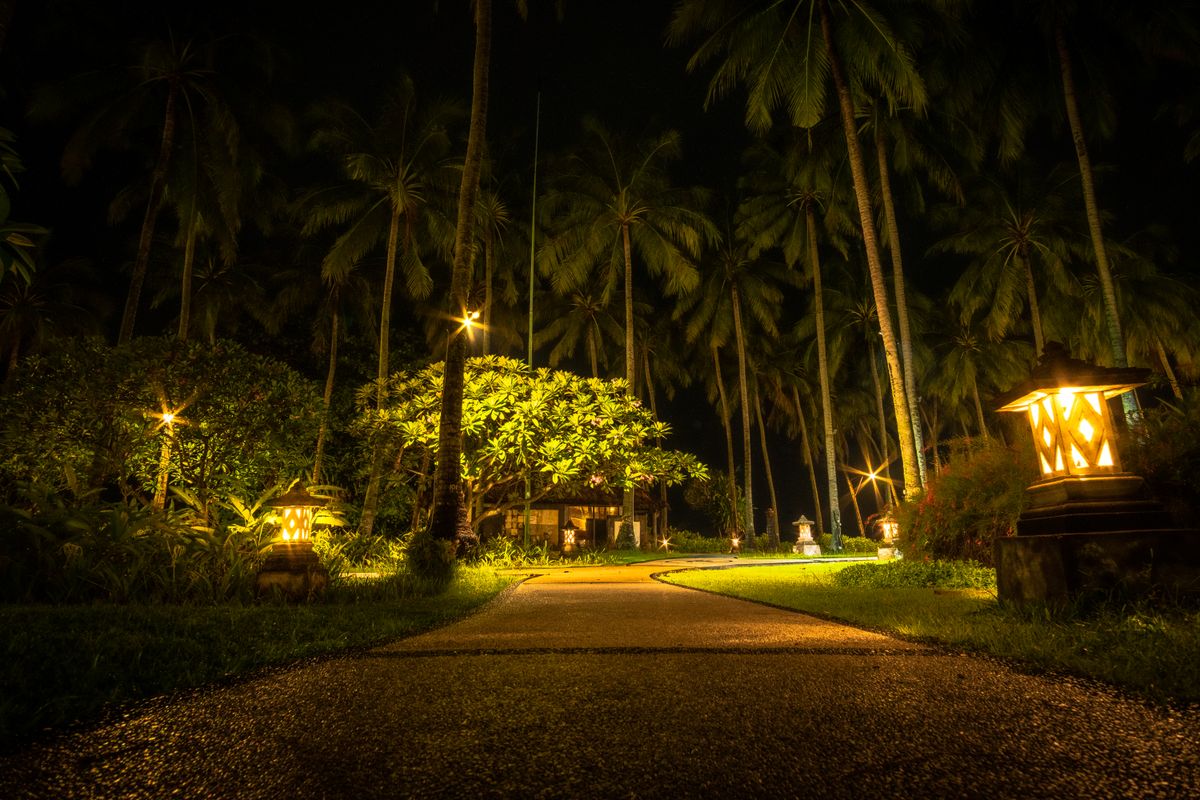
Photo by Unggul Budi on Pexels
It turns out that the Solar Pumpkin Decor Light handles these specific environmental stressors through a combination of elevated stakes and sealed internal housing. When I unboxed these [solar pumpkin lights](/blog/solar-pumpkin-decor-light-review), I felt the distinct click of the casing, a tactile reassurance that the internal LED and battery were shielded from the elements. I placed them along the primary stone path, pushing the stakes deep enough to bypass the loose mulch and hit the firmer, more stable earth below. Unlike the fragile jack o lantern solar lights often found in bargain bins, these units feature a solar panel integrated into the top of the pumpkin, which prevents water from pooling around the charging sensor. During a three-day stretch of rain, I monitored the charging efficiency. Even with overcast skies, the panels gathered enough ambient light to maintain a steady glow through the evening. The orange hue didn't dim or flicker despite the moisture. By choosing these [eco friendly halloween decorations](/blog/eco-friendly-halloween-decorations), I avoided the clutter of extension cords snaking through wet grass, which is often the first point of failure in a traditional setup. The lack of external wiring means there are no exposed ports for water to enter, a critical design choice for anyone living in a high-precipitation zone. The light stays contained within the pumpkin, reflecting off the interior walls to create a warm, flickering effect that mimics a real candle without the risk of being extinguished by a breeze.
Selecting the right location for your Solar Pumpkin Decor Light involves more than just finding a dark spot. I’ve found that a successful installation requires a balance of sun exposure and protection from heavy runoff. You want to look for areas where the ground slopes away from the path to prevent the base of the stake from sitting in a puddle for extended periods. Somewhere around week two, I realized that placing the pumpkins slightly under the drip line of a tree actually helped diffuse the heaviest rain while still allowing enough sunlight to reach the sensors. When you are ready to set up your own display, consider this framework for a durable installation:
- Identify high-sunlight zones that receive at least six hours of direct light, even during shorter autumn days.
- Check the ground density to ensure the stakes remain upright during wind gusts without leaning into the mud.
- Position the pumpkins at least twelve inches apart to create a distinct pool of light for each unit.
- Clear away overhanging wet foliage that might block the solar panel or trap moisture against the casing.
- Verify that the internal switch is set to 'on' before the final stake insertion to avoid unnecessary handling in the rain.
- Wipe the solar panels once a week with a dry cloth to remove dust or water spots that could hinder charging.
Shop Solar Pumpkin Decor Light here.